
In the journey of being a full-stack developer, one needs to learn how to create beautiful and responsive websites. In order to achieve this, we need to understand the basics of HTML, and eventually, once you master HTML, we will move on to some advanced stuff such as CSS, JavaScript, React, etc.
But do you know what the best part about HTML is ??
It is fairly easy!!!
OK…so what exactly is HTML??
HTML (HyperText Markup Language) introduced back in 1989 by Tim Berners-Lee, Robert Cailliau, and a few others helps to create the skeleton of the web application you want to create that is, it defines the basic structure of the webpage. The term HyperText refers to links that connect webpages.
HTML consists of tags which are like keywords that serve various purposes.
Note: HTML tags are not case-sensitive.
Alright…so now that the boring definition is behind us, let’s start with some real action and explore some important HTML tags.
Doctype
Doctype is the first line of code in every HTML document. It is mandatory to mention Doctype in your HTML code as it tells the browser the version of HTML we need to use.
For HTML 5 we use,<!DOCTYPE html>
So…What happens if we don’t mention doctype?
If we don’t mention doctype, we are forcing the browser to take the best guess of the webpage and execute it.
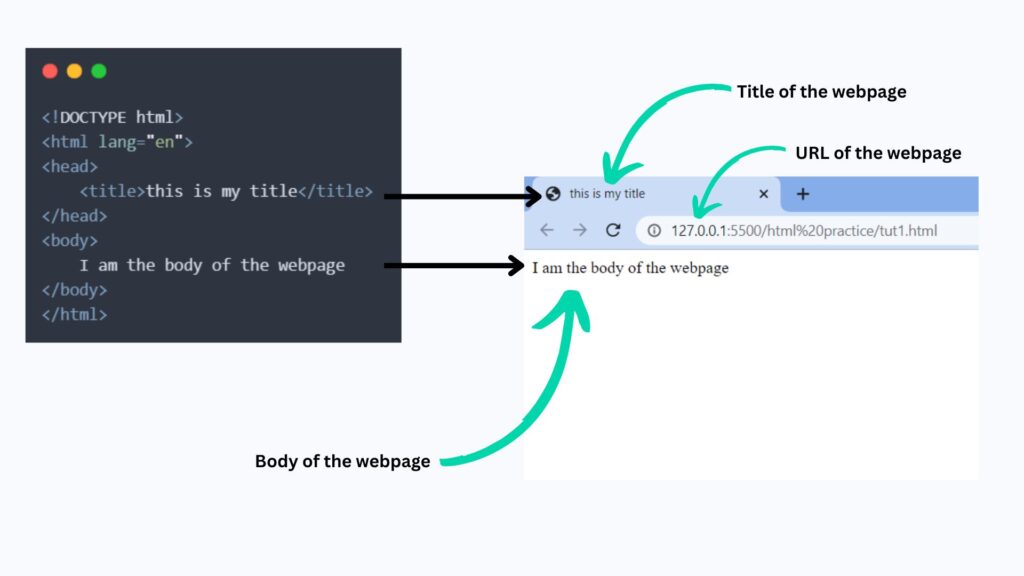
Structure of HTML
- <html></html>
- All the code we write should be inside the <HTML> tag.
- Inside the <HTML> tags we have <head> and <body> tags.
- <head></head>
- The code written inside the <HEAD> tag will not be seen on the webpage, but it contains essential information related to the document such as the web page’s title, styles of HTML tags, or CSS file links.
- <body></body>
- All the tags used in the webpage will be declared in the <BODY> tag.
- Whatever we write in the <BODY> tag will be visible on the webpage.
Let’s understand this with the help of an example.
Comments in HTML
Whatever you write in the comment tag will not be visible on the webpage. We can insert comments using the comment tag <!-- comment -->
But if comments are not visible on the webpage…why write them at all??
Mentioning comments is not mandatory but is a good practice so that the developer and readers can better understand the code.
Let’s understand this better with an example.
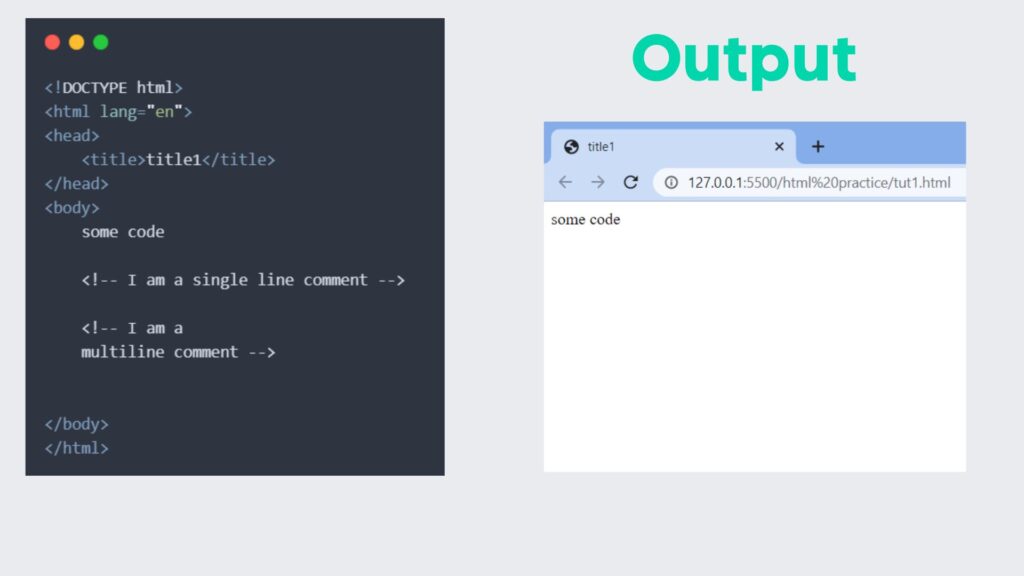
As shown in the above example, we can see that the content inside the comment tags did not appear on the webpage.
Some more important tags
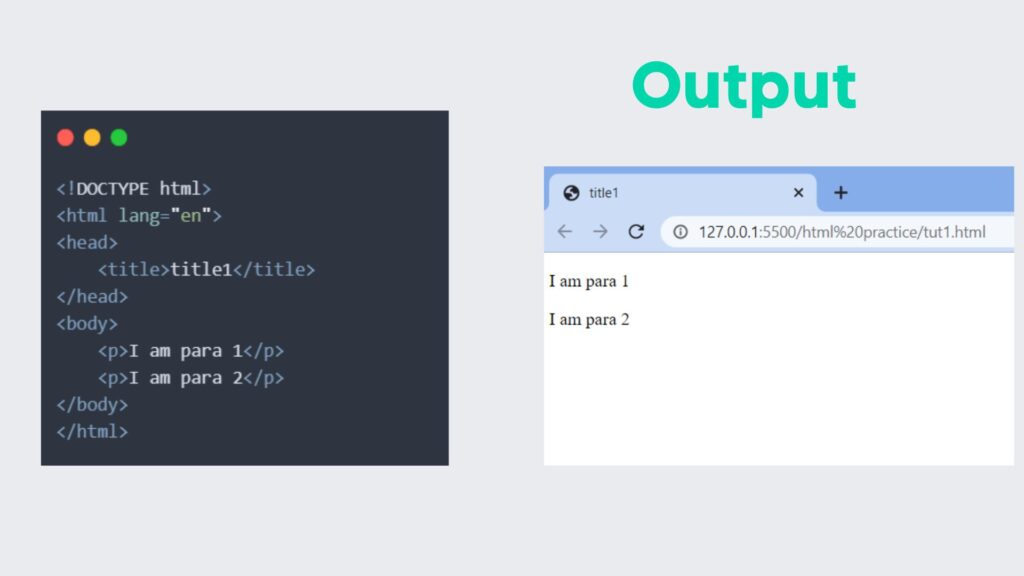
Paragraph tag (<p></p>)
Paragraph tags are used to break the text into paragraphs that is, separate lines.
Let’s understand the paragraph tag with an example.
Heading tag (<h1></h1>)
The heading tag sets the various levels of headers in HTML pages. There are 6 levels of header tags from <h1> being the biggest to <h6> being the smallest header.
Let’s understand the heading tag with an example.

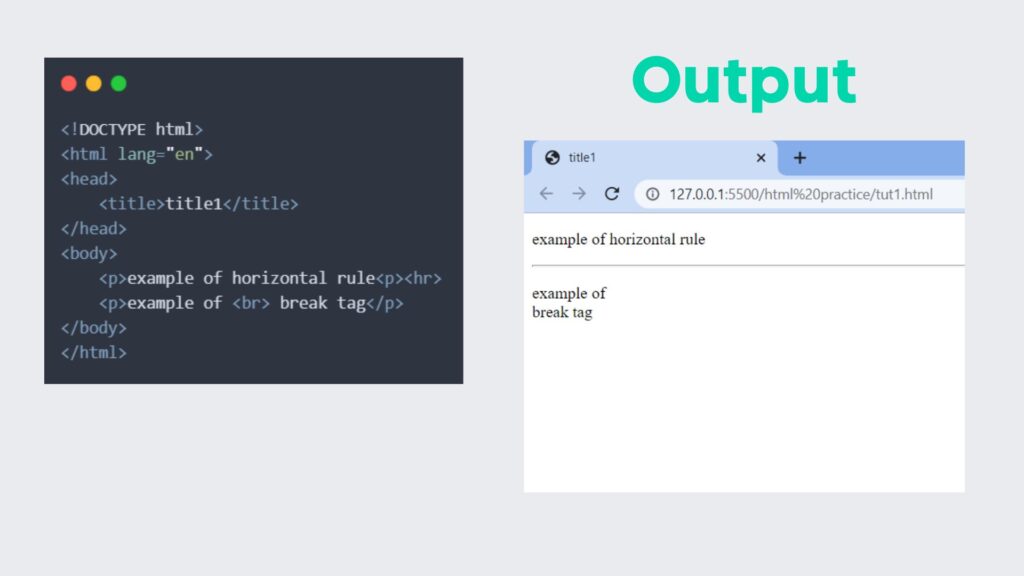
<hr> and <br> tag
The <hr> and <br> tags are single tags i.e., they don’t have a closing tag.
The Horizontal Rule <hr> tag is used to draw a line where needed in the webpage whereas the Break <br> tag is used to move to the next line (break to the next line) within a paragraph tag <p>.
Let’s understand this with an example.
Anchor tag (<a></a>)
Anchor tag is used to link the current page to another page.
Let’s explore the most important attributes of the anchor tag.
- href: contains the URL of the page, the link goes to.
- target: if we mention target=”_blank”, then the target page opens up in a different tab, whereas if we don’t mention target, it will open in the same tab.
Let’s understand this with an example.
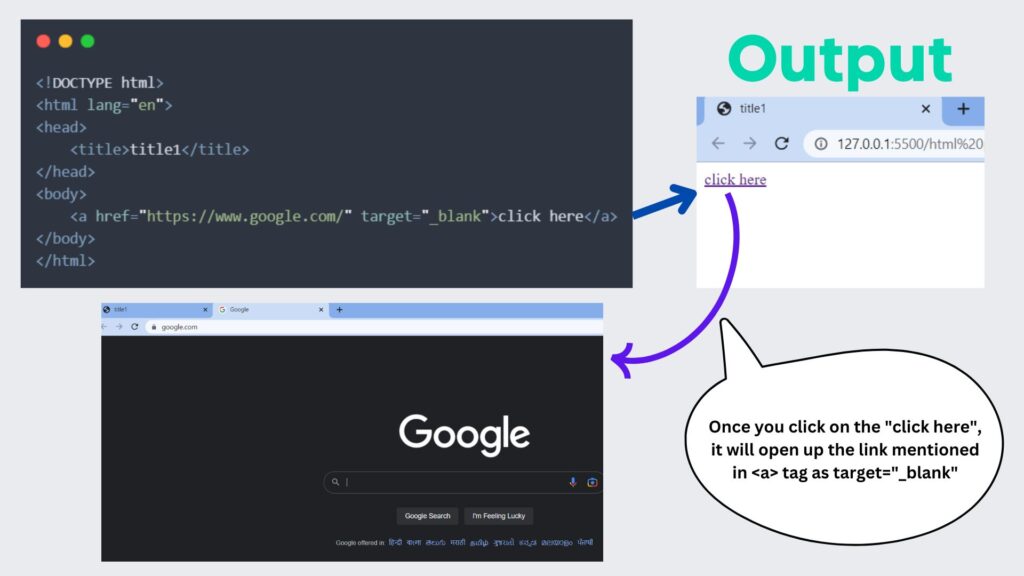
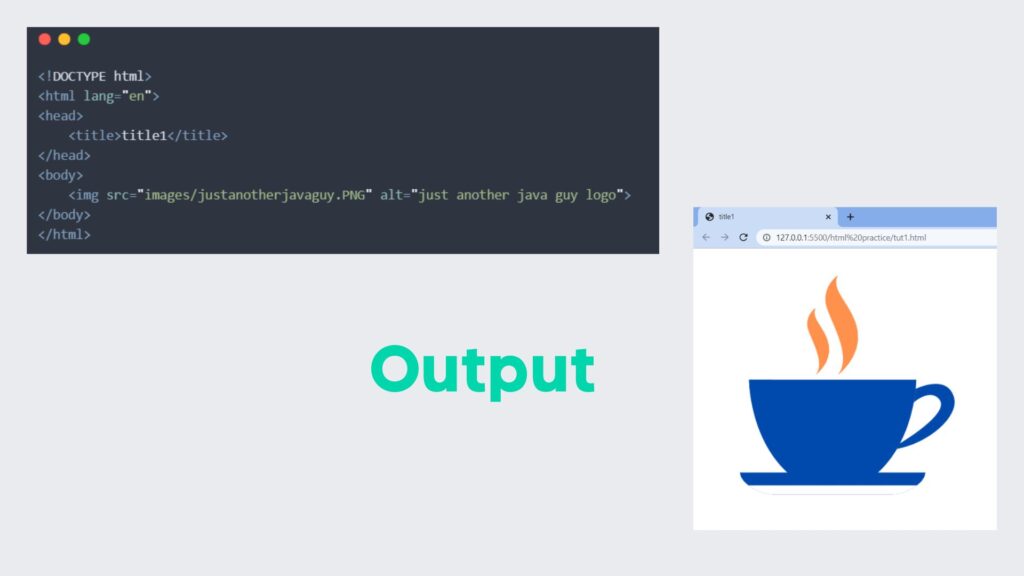
Image tag <img>
Image tag is used to show images on the webpage. In the “src” attribute, we need to mention the path of the image. In the “alt” attribute, we need to mention the image description which is useful for accessibility in the case of screen readers and also displayed on the page if the image can’t be loaded due to some reason.
The syntax for image tag is : <img src="path here" alt="my image">
Let’s understand this with an example.
Lists in HTML
We have two types of lists in HTML:
- Unordered list
- Ordered list
Unordered Lists <ul></ul>
Unordered lists are created with bullet points, circles, squares, and so on but not numbering or alphabets.
Let’s understand this with an example.
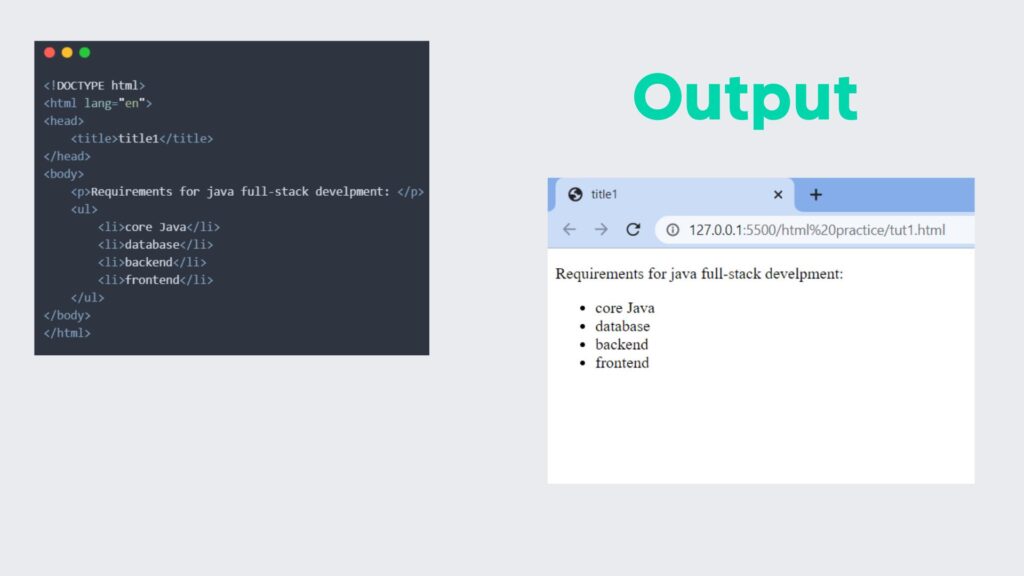
As we saw in the above example, the <ul></ul> tag is used to denote an unordered list, and the <li></li> tag is used to represent each list item.
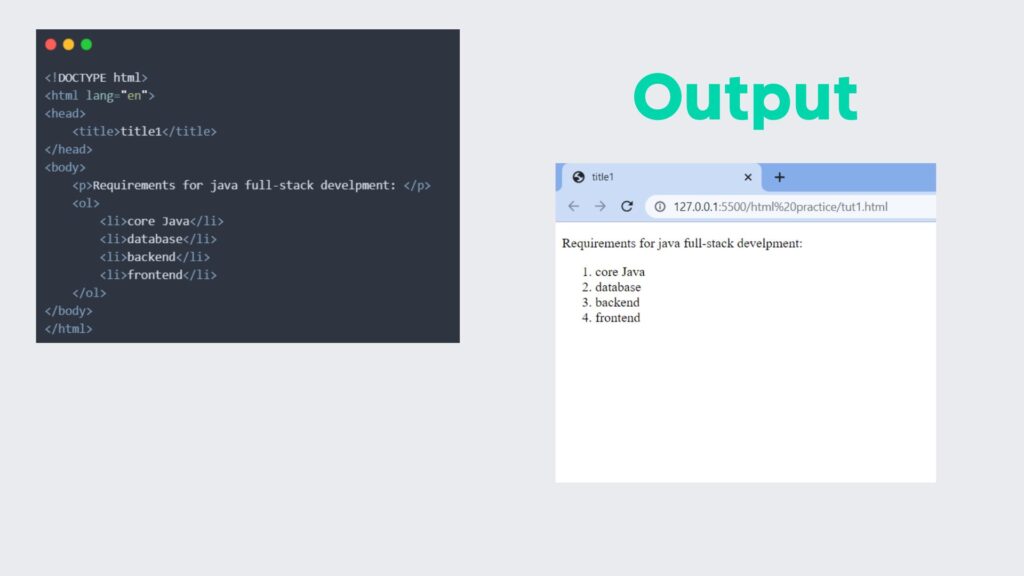
Ordered List <ol></ol>
Ordered lists are created with numbers or alphabets.
We use the <ol></ol> tag to denote ordered lists.
Let’s understand this with the help of an example.
Summing it up…
This was merely an introductory article on how to use HTML tags and utilize them to create basic website frameworks. Even though HTML is very beginner-friendly, the multitude of tags in HTML and its uses can be overwhelming to new users.
Not something to worry about because I’ll be covering all the functionality revolving around HTML and front-end development here on this very site, so keep an eye out.
And if your end goal is to get a professional certification for advanced studies or employment opportunities, a good course from a reputed source can go a long way.
You can check out this course by Edureka (primarily focussed on HTML), and for an overall idea of front-end development can check out this course by Udacity.
That’s all folks!!